The Hard Truth About Your Shell Shockers Runs
You keep dying in the spawn. You stare at the cracked screen wondering why. I have over two thousand hours in Shell Shockers. I have mastered every map, every egg class, and every weapon from the EGGK-47 to the RPEGG. I see you making the same pathetic mistakes every single match. You think you are playing a shooter, but you are just feeding the enemy team. Stop blaming lag. Stop blaming your mouse. The problem is your brain. You ignore the core mechanics that actually keep eggs intact. Read this guide. Fix your fatal flaws. Or keep getting scrambled in Free-For-All. I will not sugarcoat this. If you want to survive, you listen to me.
| # | Mistake | Quick Fix |
|---|---|---|
| 1 | You Pick Classes Blindly | Analyze the map and your team before you lock in your egg class |
| 2 | You Overuse the Crouch-Peek | Use the crouch-peek strictly for taking one deliberate, high-damage shot, the... |
| 3 | You Waste Your RPEGG | Treat the RPEGG as a zoning and execution tool, not a primary spam weapon |
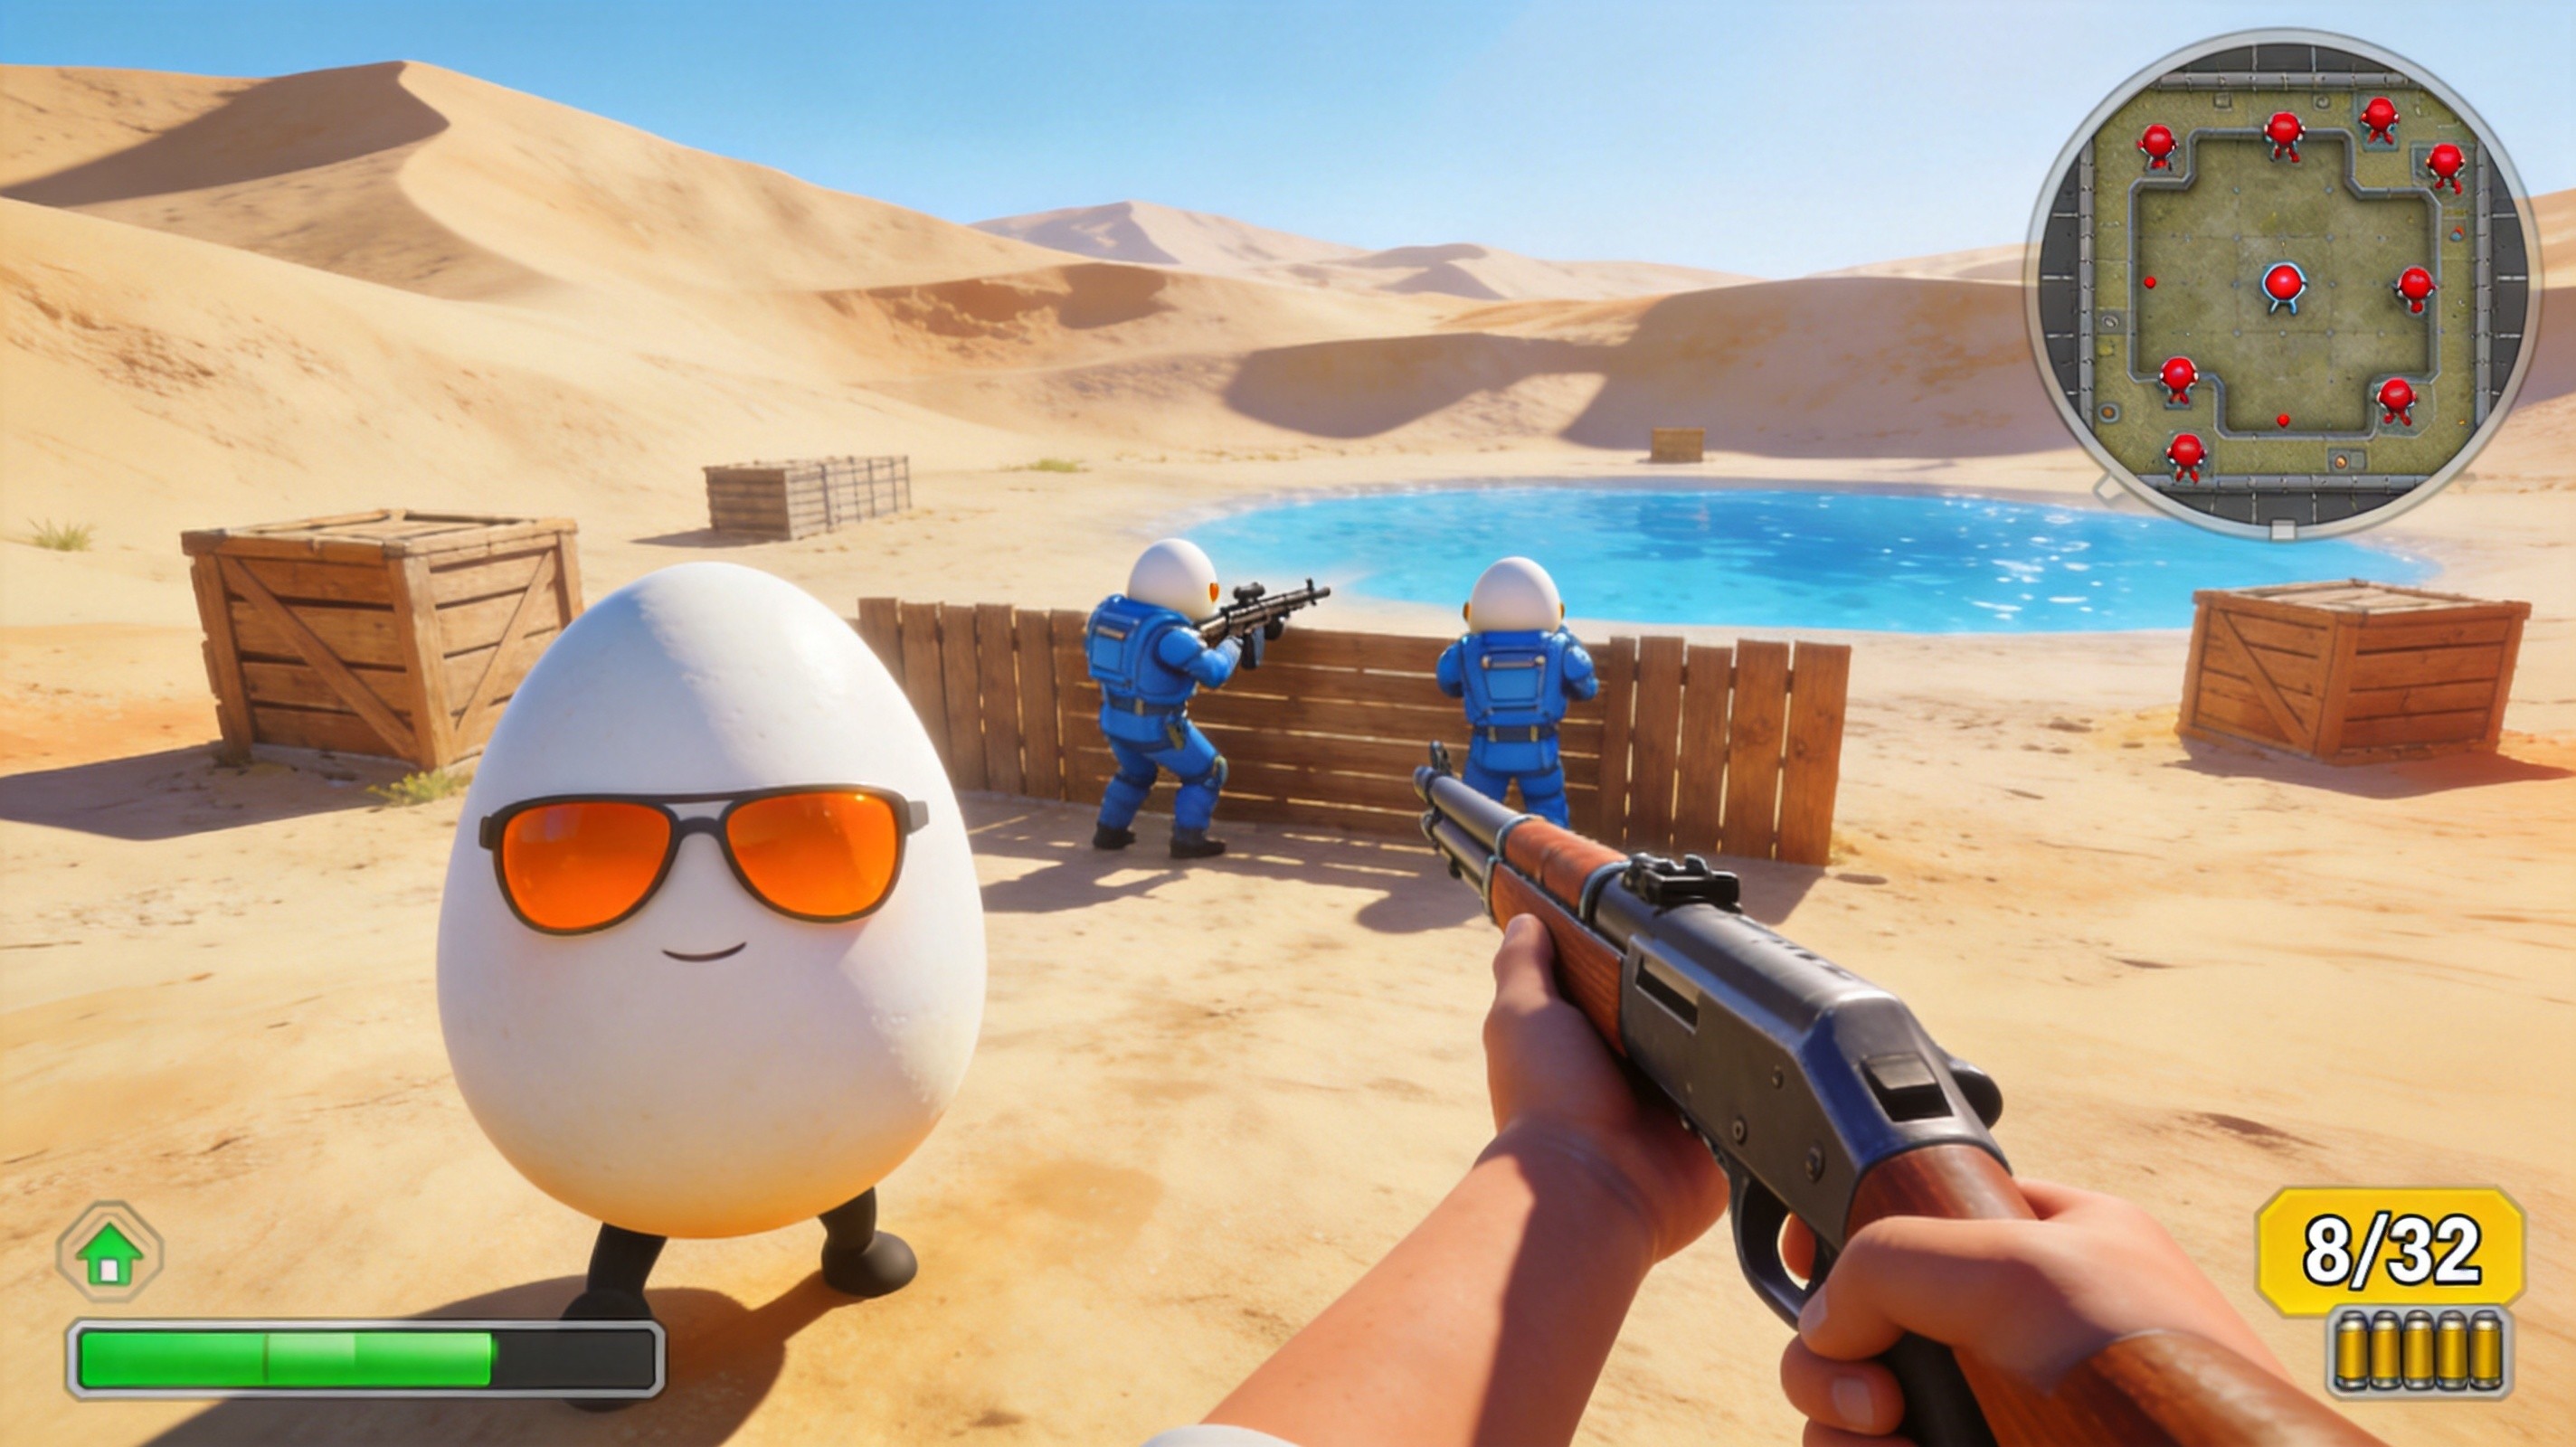
| 4 | You Ignore Map Control | Stop rushing the center |
| 5 | You Panic Spray the EGGK-47 | Fire the EGGK-47 in controlled, short bursts |
You Pick Classes Blindly
You just spawn in and click the egg class that looks the coolest. You grab a heavy class when your team needs speed, or you pick a sniper class in a tight hallway map. You do not look at your team composition. You do not think about the map layout. You just want to shoot things. This is a massive rookie error. Shell Shockers relies on distinct egg classes with unique perks. Ignoring these roles means you are actively sabotaging your squad.
When you pick the wrong class, you lose the fundamental advantage of your loadout. A slow, heavy egg gets shredded in open sightlines by a fast class. A fragile class gets obliterated in close-quarters combat against a tank. You end up outgunned and outmaneuvered before you even fire a single shot. Your team lacks the necessary coverage to hold objectives. You become the weak link. The enemy team exploits your mismatch instantly. You die, your team loses a life, and the round slips away.
Analyze the map and your team before you lock in your egg class. If the map is tight and maze-like, pick a high-mobility or close-range class. If it is wide open, grab a class with long-range perks. Check your team. If everyone is playing sniper, you need to pick a close-quarters brawler to push the flanks. Communicate with your squad. Adapt your class selection to counter the enemy composition. This takes three seconds, but it guarantees you actually have a fighting chance when the match starts.
You Overuse the Crouch-Peek
You learned about the crouch-peek technique from some basic guide. Now you think it makes you invincible. You stand behind every single crate and continuously crouch up and down to peek at the enemy. You do this in the open. You do this when you have low health. You spam the crouch button like a maniac. You think this mechanic is a get-out-of-jail-free card. It is not. You are turning yourself into a predictable, rhythmic target.
The crouch-peek is a powerful tool for taking a single shot and resetting your hitbox. But when you spam it, you destroy its effectiveness. Experienced Shell Shockers players track your rhythm. They anticipate your pop-up timing. They pre-aim the exact pixel where your egg head appears when you uncrouch. Instead of dodging bullets, you are literally walking your head into their crosshairs on a schedule. You lose the element of surprise. You get instantly cracked by a player who just waited for your predictable animation to finish.
Use the crouch-peek strictly for taking one deliberate, high-damage shot, then immediately reposition. Do not stay behind the same crate. Fire your weapon, drop down, and strafe to a completely different angle. Mix up your timing. Sometimes peek from the left, sometimes from the right. If you must hold an angle, use the crouch-peek only when the enemy is reloading or distracted. Break your own rhythm. Make the enemy guess when you will pop out. Unpredictability keeps your egg intact; predictability gets you scrambled.
You Waste Your RPEGG
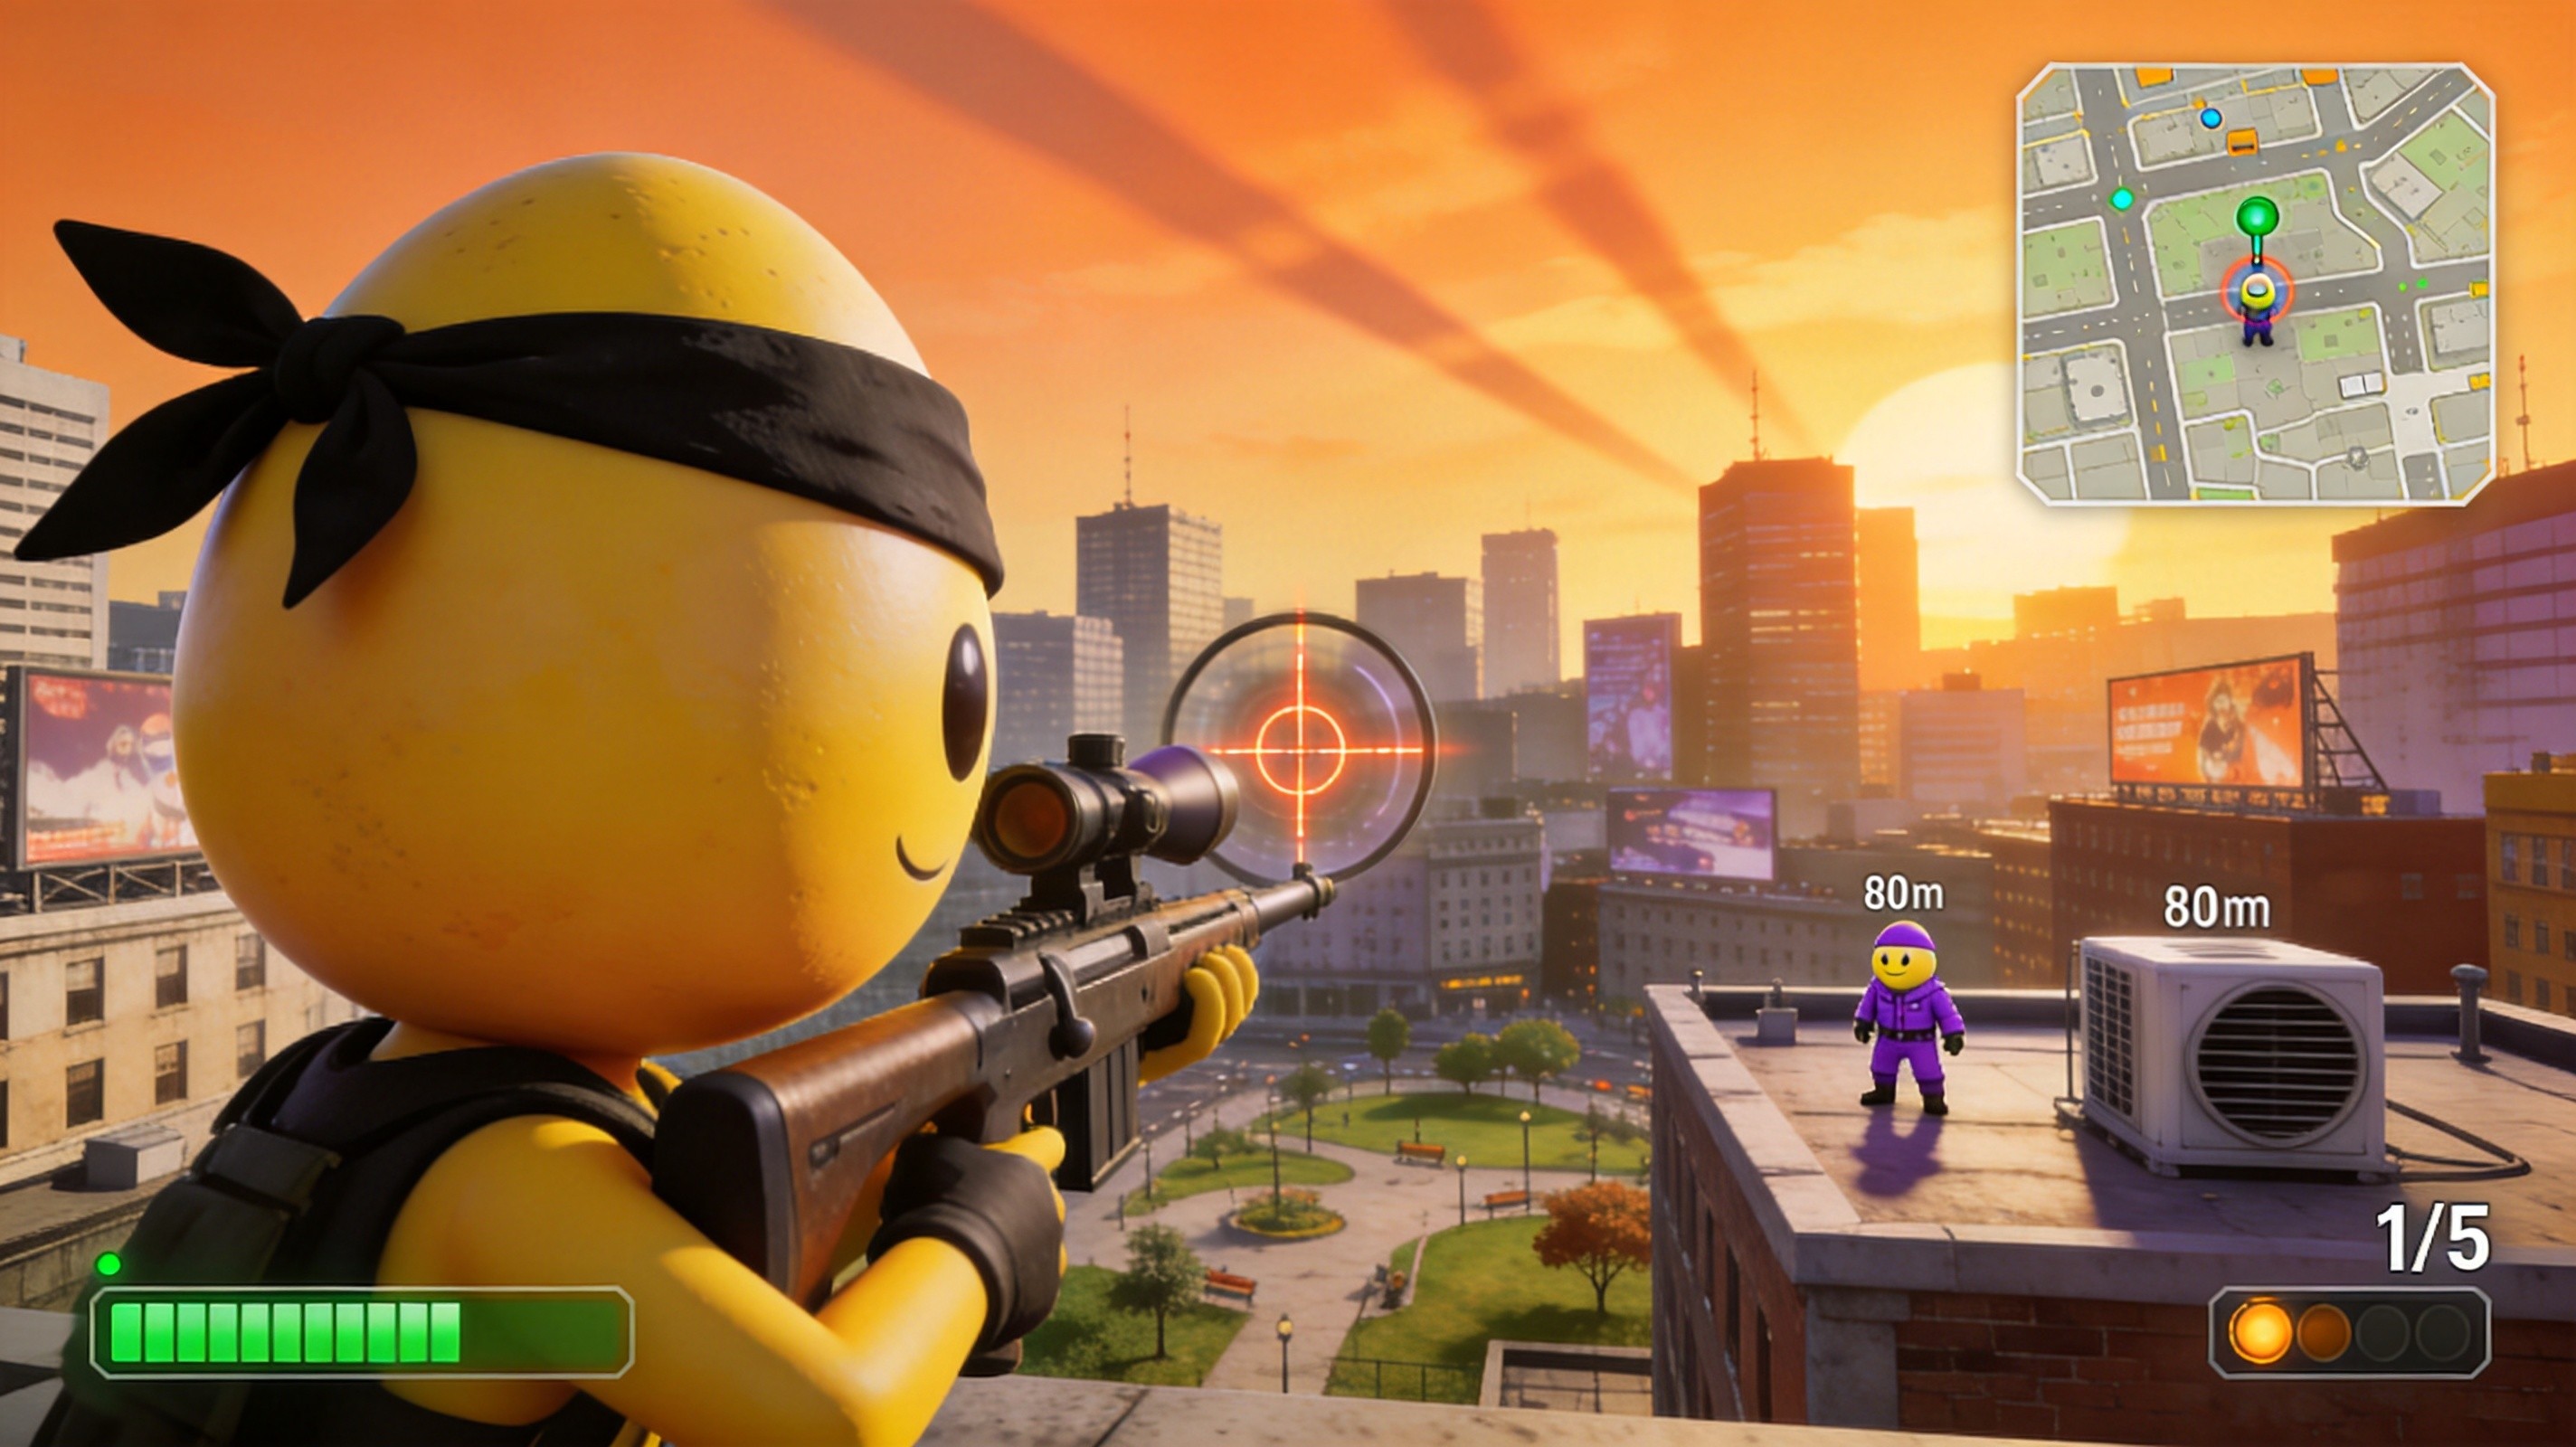
You get your hands on the RPEGG and immediately lose your mind. You see an enemy across the map and just fire. You shoot it at walls to try and get a splash damage kill. You fire it blindly around corners without checking your trajectory. You treat this devastating launcher like a standard hitscan rifle. You completely ignore the projectile travel time and the massive explosion radius. You just want to see things go boom.
The RPEGG is a high-risk, high-reward weapon. When you fire it blindly, you waste your most powerful tool. Worse, you often blow yourself up. The splash damage does not care if you are the enemy or yourself. You end up cracking your own egg while missing the target entirely. Even if you do not kill yourself, the slow projectile gives the enemy plenty of time to strafe out of the way. You announce your position, waste your ammo, and leave yourself completely vulnerable while the rocket travels.
Treat the RPEGG as a zoning and execution tool, not a primary spam weapon. Only fire it when the enemy is trapped in a chokepoint, reloading, or focused on another target. Aim slightly ahead of their movement to lead the shot. Always check your surroundings to ensure the blast radius will not catch you. If you miss, do not immediately fire again. Fall back, reposition, and wait for a guaranteed angle. Patience with the RPEGG turns it from a suicide button into a match-winning weapon.
You Ignore Map Control
You spawn in and immediately sprint toward the nearest enemy. You do not look at the mini-map. You do not secure the high ground. You just run into the middle of the arena and start shooting. You treat Shell Shockers like a mindless deathmatch where only the kill feed matters. You completely ignore the strategic layout of the map, the power weapon spawns, and the crucial chokepoints. You just want to get frags.
Shell Shockers is not just about who shoots first. It is about positioning. When you ignore map control, you fight from disadvantageous angles. You get flanked constantly. You miss out on the EGGK-47 or RPEGG spawns because you are too busy dying in the center of the map. Your team loses the objective because nobody is holding the capture zones. You might get a few lucky kills, but you will inevitably lose the match. Frags do not win rounds if you lose the map.
Stop rushing the center. Spend the first thirty seconds of the match securing key vantage points and chokepoints. Check the mini-map constantly to track your team positioning and enemy flanks. Control the spawn areas for the heavy weapons. If you hold the high ground, you force the enemy to expose themselves to shoot you. Play the objective. Hold the angles that matter. Dictate where the fights happen. When you control the map, the enemy is forced to play your game, and you will crush them.
You Panic Spray the EGGK-47
You equip the EGGK-47 and just hold down the left click. You spray bullets everywhere when an enemy appears. You do not control the recoil. You do not aim for the head. You just rely on the high fire rate to get a lucky hit. You drain your magazine in two seconds. You stand completely still while doing this, making yourself a massive, stationary target. You think more bullets equal more damage.
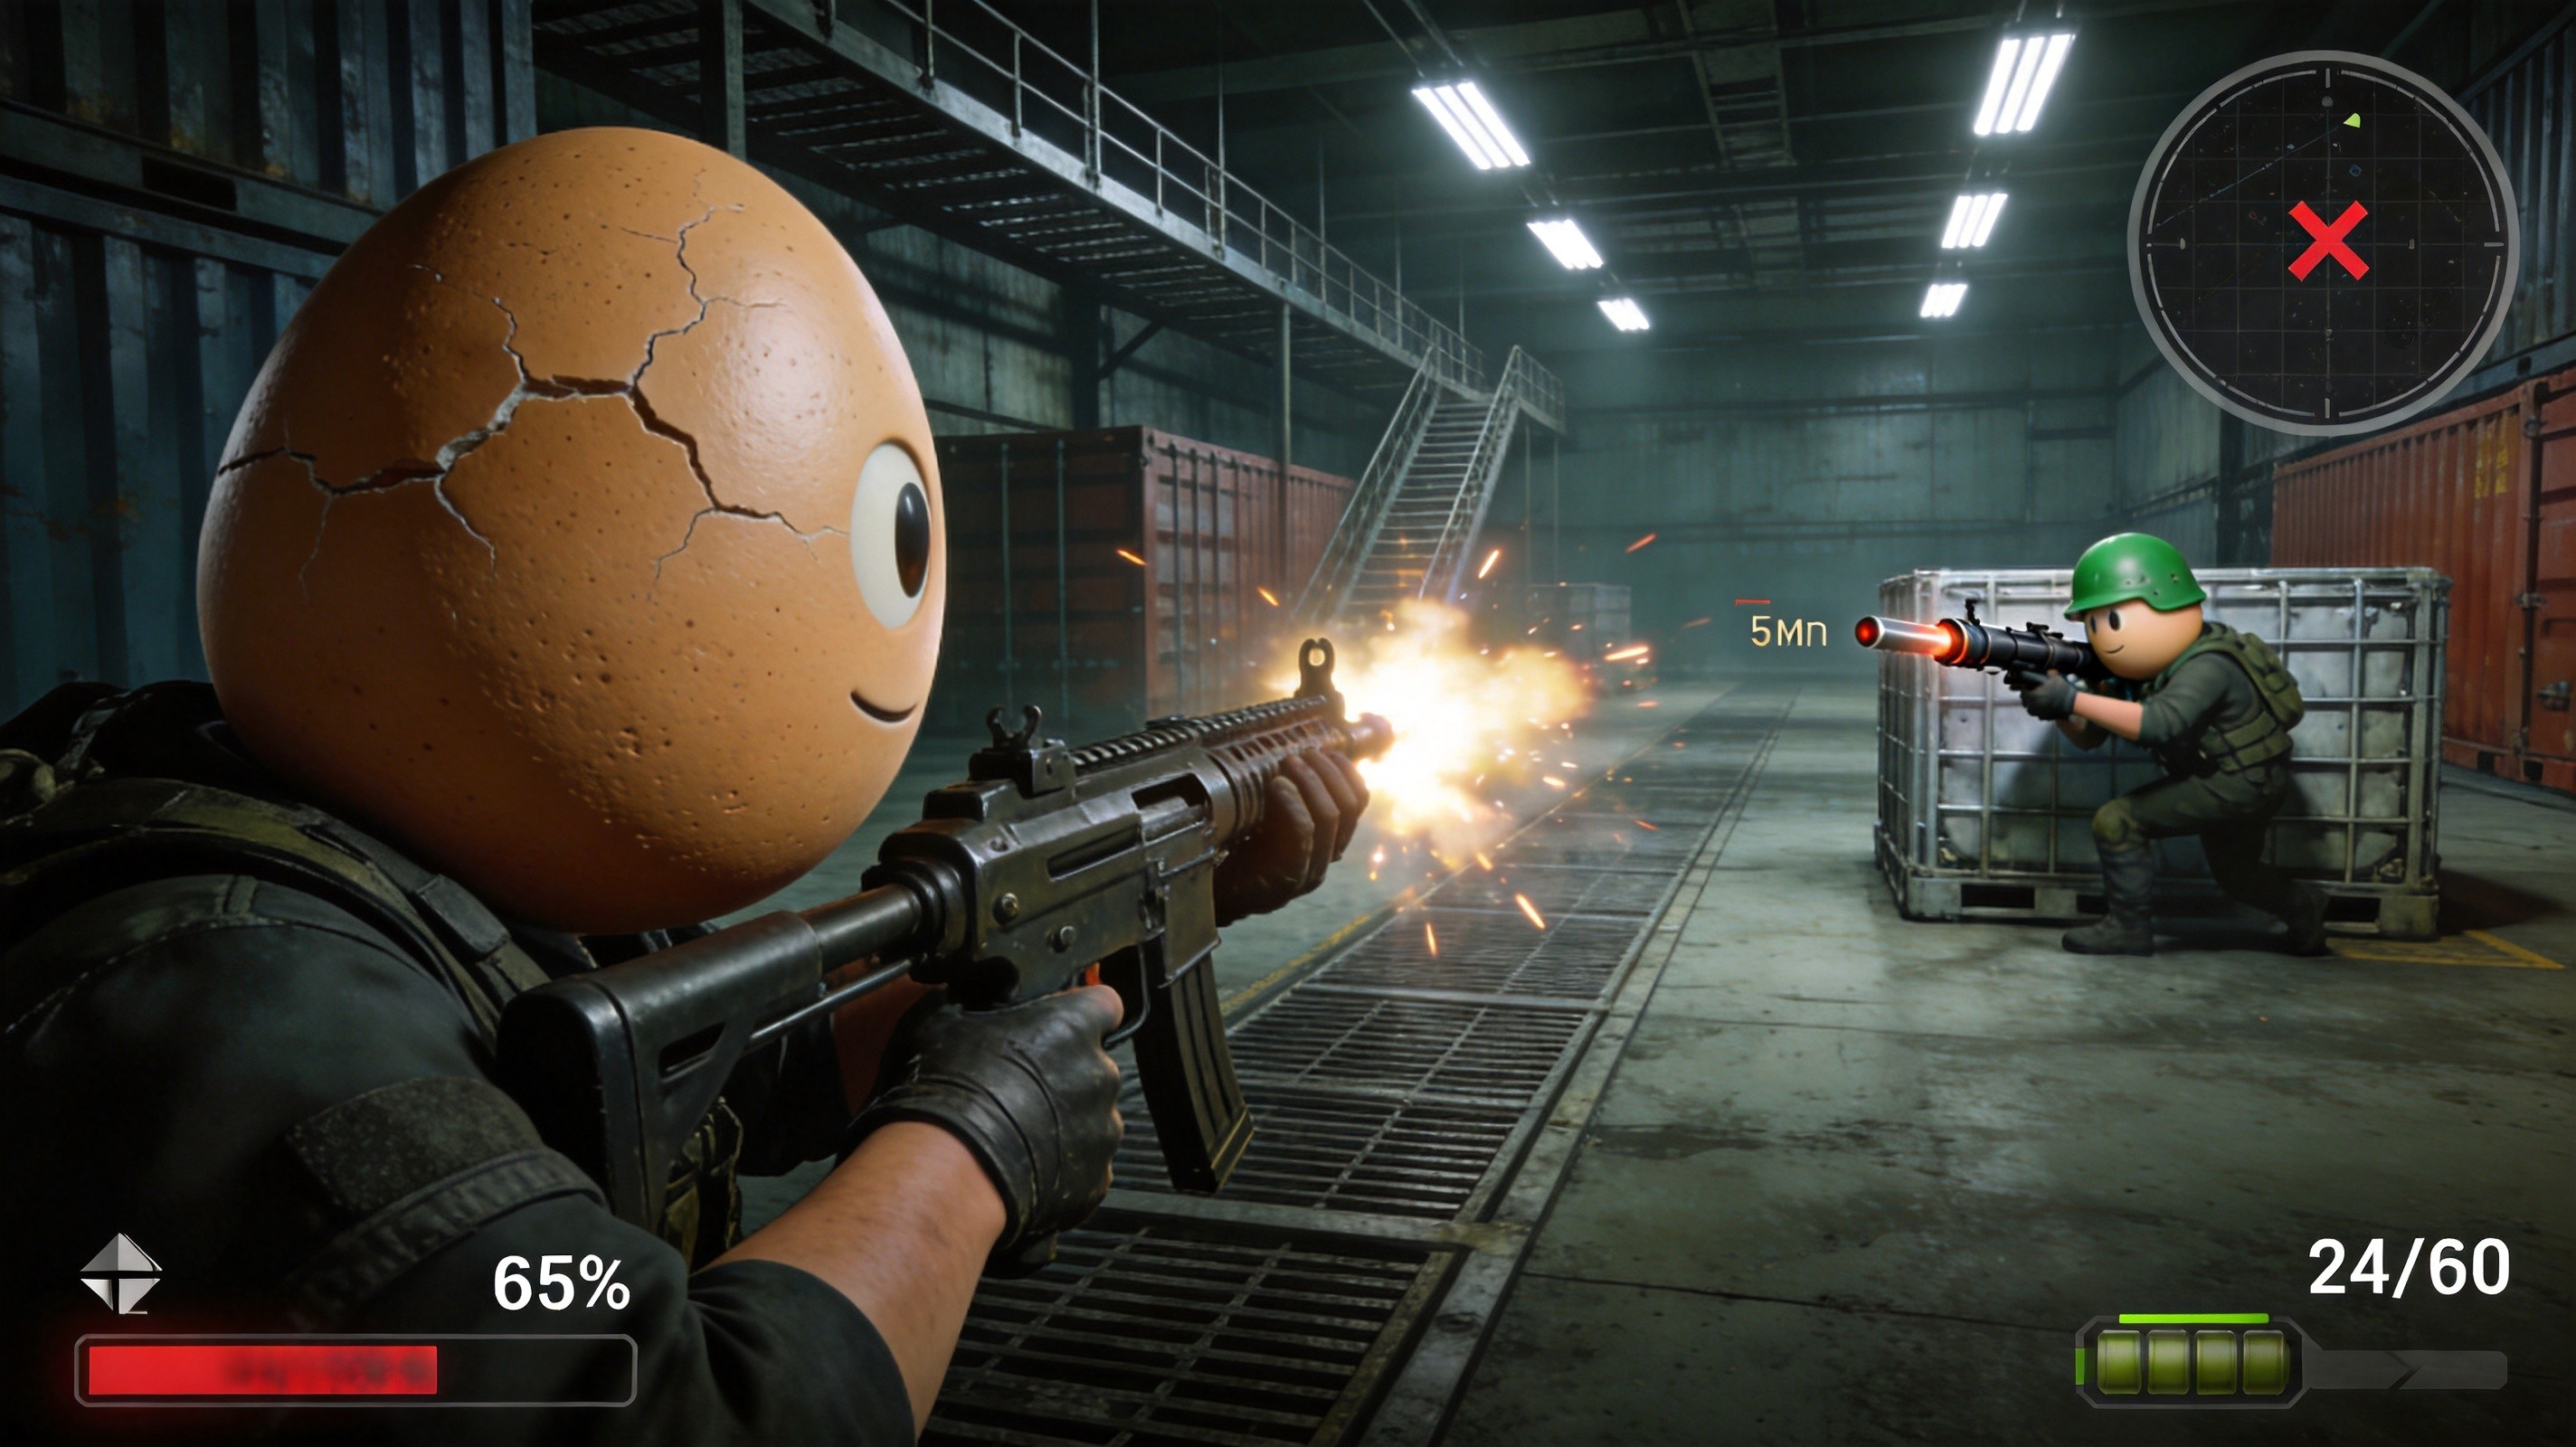
The EGGK-47 has significant recoil and bullet spread when fired continuously. When you panic spray, your bullets go everywhere except the enemy hitbox. You waste half your magazine hitting the walls and floor. Meanwhile, the recoil pushes your crosshair up, making it impossible to track a moving target. You also make zero noise discipline and reveal your exact location. A skilled player will easily dodge your wild spray and headshot you while you are busy emptying your clip into the dirt.
Fire the EGGK-47 in controlled, short bursts. Tap the trigger for three to four bullets, then let the recoil reset. Aim deliberately for the center mass or head. If the enemy moves, adjust your aim smoothly instead of just dragging the mouse wildly. Move while you shoot to make yourself a harder target. Manage your ammo. If your magazine runs dry, you are dead. Burst fire maximizes your accuracy, minimizes your recoil, and ensures every single bullet counts toward cracking the enemy egg.
The Bottom Line
The absolute biggest difference between a cracked egg and a Shell Shockers champion is map awareness combined with weapon discipline. Anyone can hold the left click and run into the middle of the map. That is how you die. Winners control the angles, manage their class synergies, and respect the recoil and travel times of their weapons. Stop playing on autopilot. Start thinking three steps ahead. Lock in your class, control the chokepoints, and fire with purpose. Now get back into the browser, apply these fixes, and stop feeding the enemy team.